




Description
The kit that reaches the part of the duct nothing else does
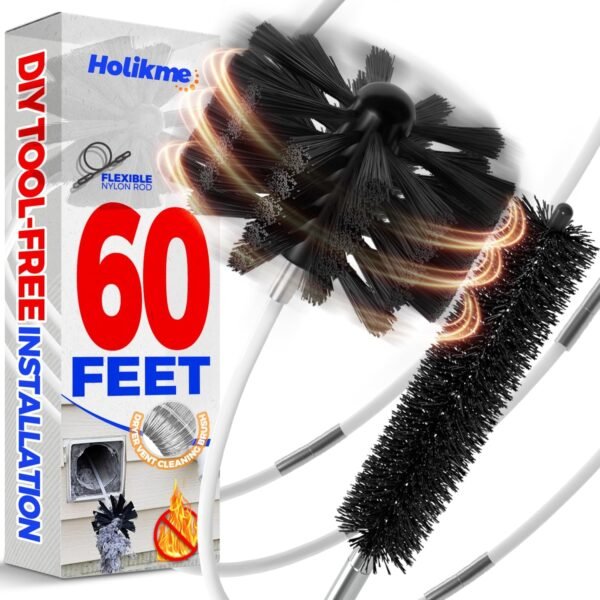
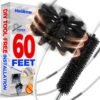
The Holikme FT-60 is a rotary dryer vent cleaning kit: two synthetic brush heads and a set of flexible rods that join together to reach up to 60 feet, with an adapter so the assembly can be driven by a power drill. The model number is FT-60, the carton measures 17.48 by 4.65 by 4.02 inches and weighs 3.16 pounds, and the listing carries 516 ratings at 4.3 stars, sitting 47,559th in Health and Household and 143rd among lint removers.
This is a different tool from a hand brush, and the difference matters. A hand brush cleans the lint trap housing and the first stretch of duct behind the machine, which is where lint is densest. A rod kit goes the whole length of the run: through a wall, up through a floor, across a roof space and out to the exterior hood. That is where a long duct silently packs solid and where a dryer that has become slow usually has its problem.
The household that needs this is one with a duct run longer than an arm, which is most houses that are not laundry rooms on an outside wall.
How the rods work, and the single instruction that matters most
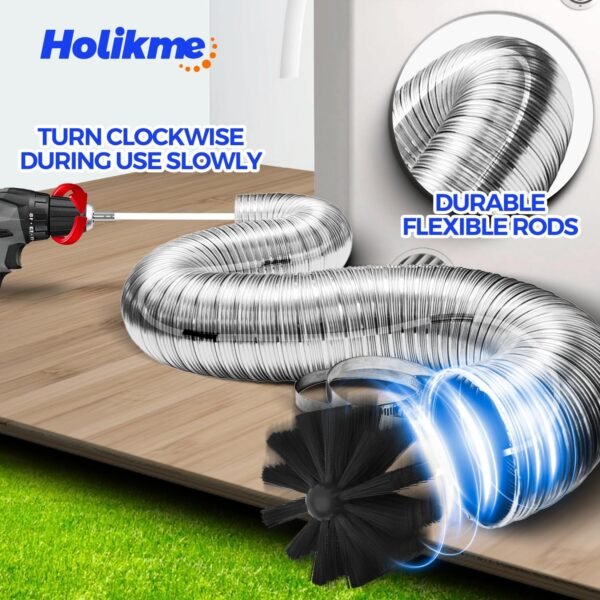
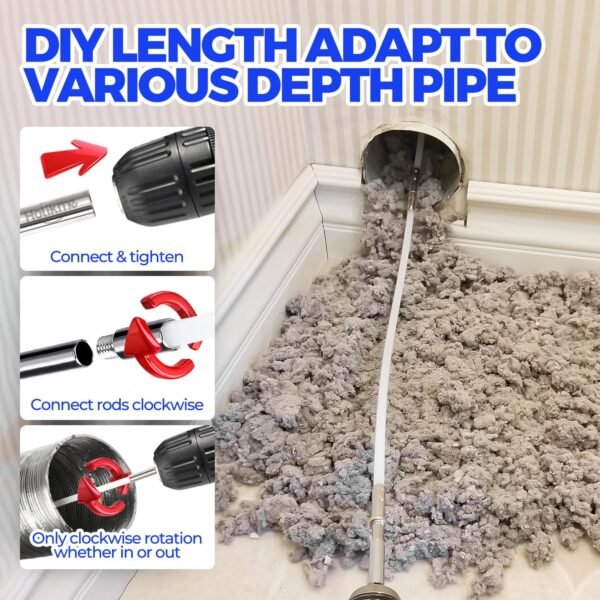
The rods thread together end to end, and a brush head threads onto the leading rod. You feed the assembly into the duct, adding rods as you go, and either turn it by hand or drive it with a drill so the bristles sweep the duct wall as they advance.
Holikme gives one instruction that is worth more than everything else on the page: always turn the rod clockwise. That is not a preference. The joints are threaded, and turning the assembly counterclockwise unscrews them. Reverse a drill inside a duct and you leave a brush head and several rods stranded in a wall cavity, which turns a maintenance job into a demolition job. If your drill has a reverse switch, treat it as locked.
The related guidance in the same bullet is also correct: slow down at corners and turns and at a stubborn blockage, then accelerate gently. A rod assembly binds in an elbow, and forcing it is how a joint fails or a duct is punctured.
The joint count is the thing to inspect on arrival
Sixty feet of rod arrives in a carton seventeen and a half inches long, which means many short sections and therefore many joints. The listing never says how many rods are supplied or how long each one is. Every joint is a potential separation point, so count them, thread them fully home rather than finger tight, and check them again after each pass. If a rod feels loose when you pull the assembly back, stop and withdraw everything before continuing.
Doing the job properly
Unplug the dryer before pulling it out. If it is a gas dryer, shut off the gas and be careful of the flexible connector. Disconnect the duct at the back of the machine rather than working around it.
Where you can, work from the exterior vent hood inward as well as from the machine outward, because lint tends to compact at the hood where the flap restricts it. Vacuum the debris that comes out at each end rather than letting it settle. Check that the exterior flap opens freely when the dryer runs and that it is not blocked by a bird nest, which is a common cause of a completely dead vent.
Use a drill on its lowest speed setting and never an impact driver, whose hammering action has no place in a duct. Keep the rod moving in and out slowly rather than spinning it in one place, which polishes a spot rather than sweeping the wall. Take the same care with the transition duct behind the machine, which is often flexible foil, easily crushed, and easily torn by a spinning brush.
While the machine is out, look at the ducting itself. Flexible plastic and foil accordion duct traps lint in its ridges and crushes flat when the dryer is pushed back. Rigid or semi rigid metal duct is what fire safety guidance recommends instead, and no amount of brushing compensates for a duct that is kinked behind the appliance.
The safety claims on the page, read carefully
The last bullet is right about the risk and wrong in its wording. Lint buildup is genuinely dangerous, and failure to clean is repeatedly cited in fire statistics as the leading contributing factor in clothes dryer fires. But the bullet says removing lint periodically is the only way to prevent the risk, and that is an overstatement. Duct material, duct length, the number of bends, correct routing, not overloading the machine and not running it unattended all matter too. Cleaning is necessary and it is not sufficient on its own.
One other bullet makes a direct comparison against what a professional cleaning costs. This site does not discuss prices, and it is worth noting that a professional service includes an inspection of the run and its terminations, which a rod kit does not.
The specification block has the usual problems. Number of Items reads 1 for a multi piece kit. Included Components reads simply Attachment. Item Firmness Description reads Soft, and Handle Material reads Plastic on a product whose defining components are rods and brush heads.
Cost, frequency and the other tools
The economics are simple: a rod kit is bought once and used for the life of the house, and there is no consumable at all. Clean the lint screen after every load, the trap housing and accessible duct at least twice a year, and the full run annually, more often with a long duct, several bends, or a household that dries a lot of towels and pet bedding.
The companion tool is the hand brush for the trap housing, and Holikme’s own flexible dryer lint brush covers that part of the job at a fraction of the size. The two are complementary rather than alternatives. For lint on clothes, the Scotch Brite lint brush and the Layers lint roller are the everyday items, and a magnetic lint bin makes emptying the screen habitual. The category sits under lint removers. If you use products from the dryer sheets aisle, wash the lint screen in warm soapy water occasionally, since softener residue on the mesh restricts airflow in a way brushing does not fix.
Who should buy it and who should not
Buy it if your dryer duct runs more than a few feet, your drying times have crept up, or you have never had the full run cleaned. It addresses a real fire and efficiency problem, there is nothing to replace, and the clockwise instruction on the page is the correct one.
Do not buy it if your only access is a short duct straight through the wall, where a hand brush is enough. Do not use it with a drill in reverse or with an impact driver. And do not assume the rod count from this page, because the listing never says how many sections make up the 60 feet.